
This guide will walk you through the steps to connect your pfSense network appliance to your AWS VPC. There are several ways to achieve this, but if you only have one VPC you need to connect to, this is the most cost-effective way. If you have multiple VPCs, it is best to use AWS Transit Gateway, which I will plan to write a guide for as well.
Requirements for this Guide;
- AWS Account with a VPC Setup
- pfSense Firewall Appliance
- Basic understanding of Networking
- Basic understanding of AWS
Let’s get started
Create Customer Gateway
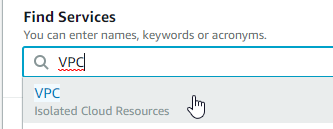
Login to your AWS Account, and go to the VPC Dashboard.
From the left side, under Virtual Private Network (VPN), click on Customer Gateways.

Click on Create Customer Gateway

Give your Customer Gateway a name, choose static for routing, and enter in your external WAN IP. When you set your Customer Gateway Name, it is also creating a tag that is useful for logging. Be sure to document everything. When you’re satisfied, click on Create Customer Gateway.

If it is successful, you will see this page after it is complete. Click on close

Create VPN Gateway
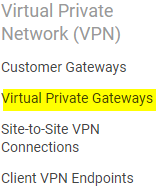
Now that your Customer Gateway is set up, create the VPN Gateway. Under Virtual Private Network (VPN), click on Virtual Private Gateway.
Click on Create Virtual Private Gateway

Give your VPN Gateway a name and choose Amazon default ASN. Click on Create Virtual Private Gateway.

After it is created, click on Close,

Create VPN Connection
Now, we need to create the VPN Connection for your pfSense appliance to connect to. From the VPC Dashboard, click on Site-to-Site VPN Connections under Virtual Private Network (VPN).
Click on Create VPN Connection

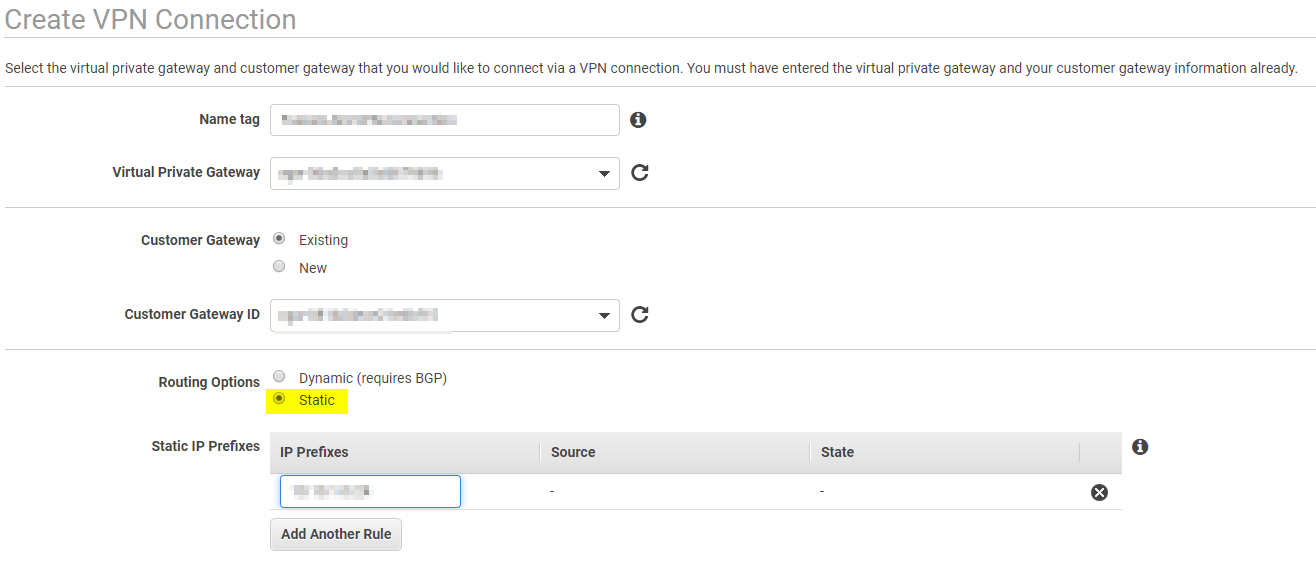
Give your VPN Connection a name, choose the Virtual Private Gateway and the Customer Gateway that you created.
For Routing Options, choose Static. Enter in the IP Prefix for the subnet behind the pfSense appliance. Click on Create VPN Connection when finished.
After if it has completed, click on Close

Attach Virtual Private Gateway to your VPC
From the VPC Dashboard, click on Virtual Private Gateway

Select your Virtual Private Gateway, click on Actions, then click on Attach to VPC

Select the VPC you wish to connect it to from the drop down and click on Yes, Attach

You should see the status stats attached

Download pfSense Configuration
From the VPC Dashboard, click on Site-to VPN Connections

Select your VPN Connection and click on Download Configuration
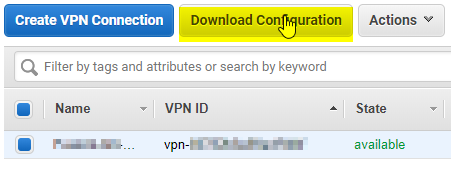
For Vendor and Platform choose pfSense. For Software, choose pfsense 2.2.5+(GUI). Click on Download

This file contains all the information you need to connect your pfSense appliance to your VPN Gateway. Open the text file using your favorite text editor. For Windows I use Notepad++. For Linux and Mac, I use Atom.
Configuring pfSense to connect to your VPN Gateway
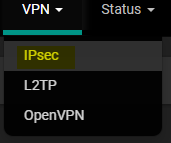
Login to your pfSense appliance then go to VPN and click on IPsec.
Click on Add P1

Using the information from the text file, configure as stated. Click on save when finished.
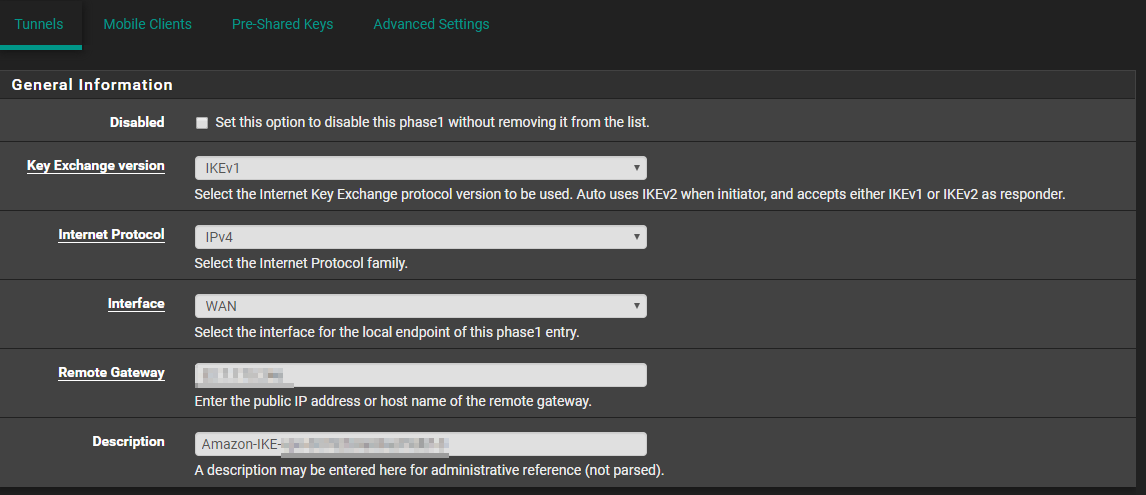


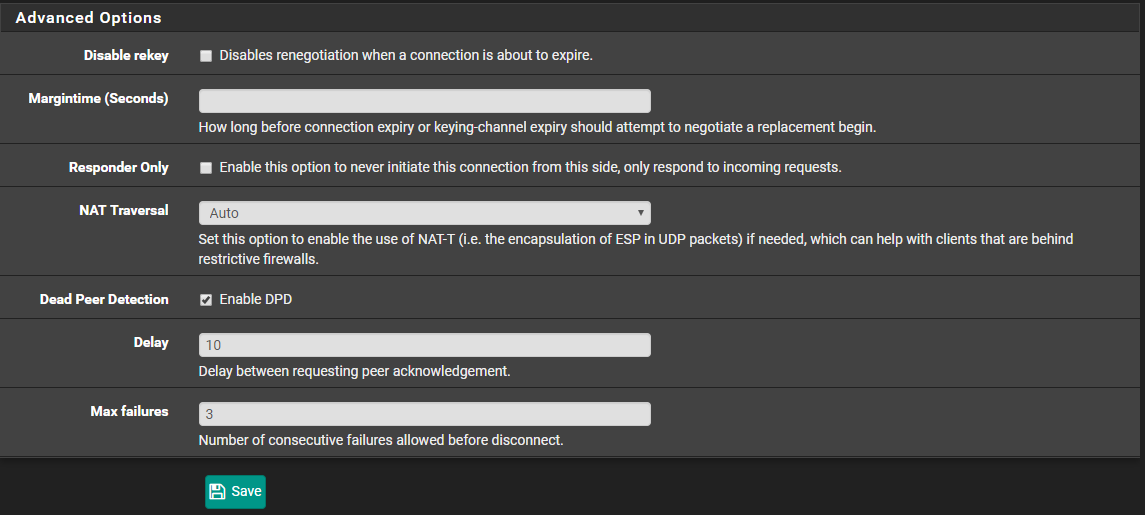
IPSec Configuration
From the VPN IPsec dashboard, click on Show Phase 2 Entries under the Tunnel you created

Click on Add P2

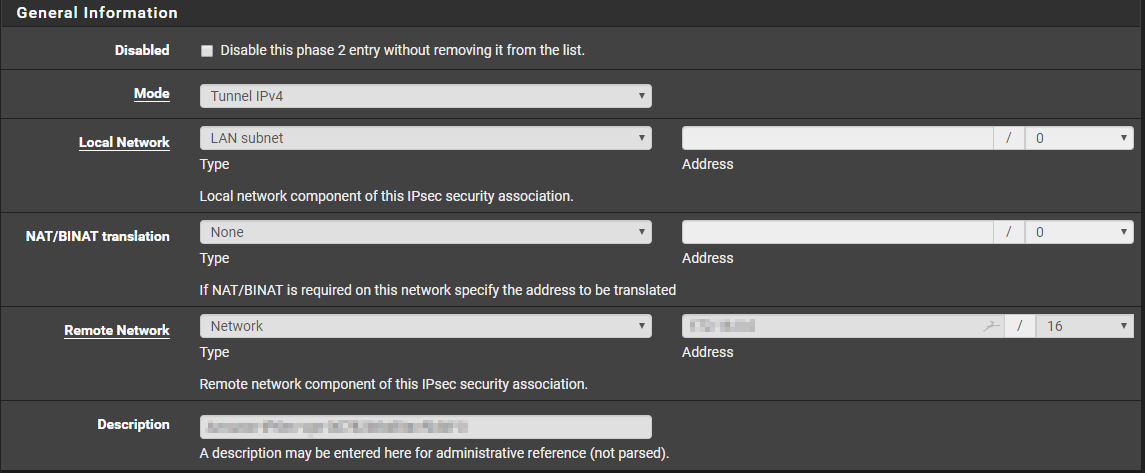
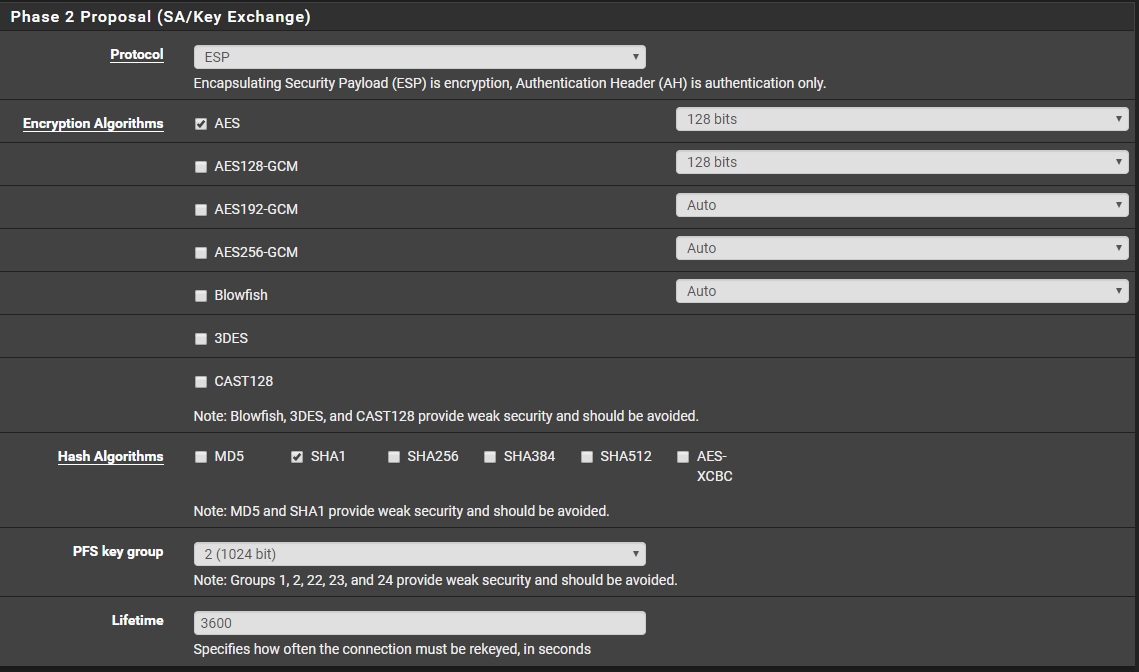
Using the values from the text file, enter the information as needed. For Remote Network, enter in the subnet for your VPC you are connecting to. You can look up this information by going to your VPC dashboard, and clicking VPCs. It is in the IPv4 CIDR column.

General Information
Phase 2 Proposal
Advanced Configuration
Enter in an IP of an EC2 instance that you can ping and click on Save

Click on Apply Changes

To see if your VPN Connection is established, click on Status and go to IPsec
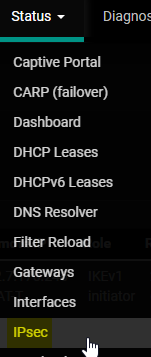
Under Status, you should see ESTABLISHED

Setup Firewall Rules
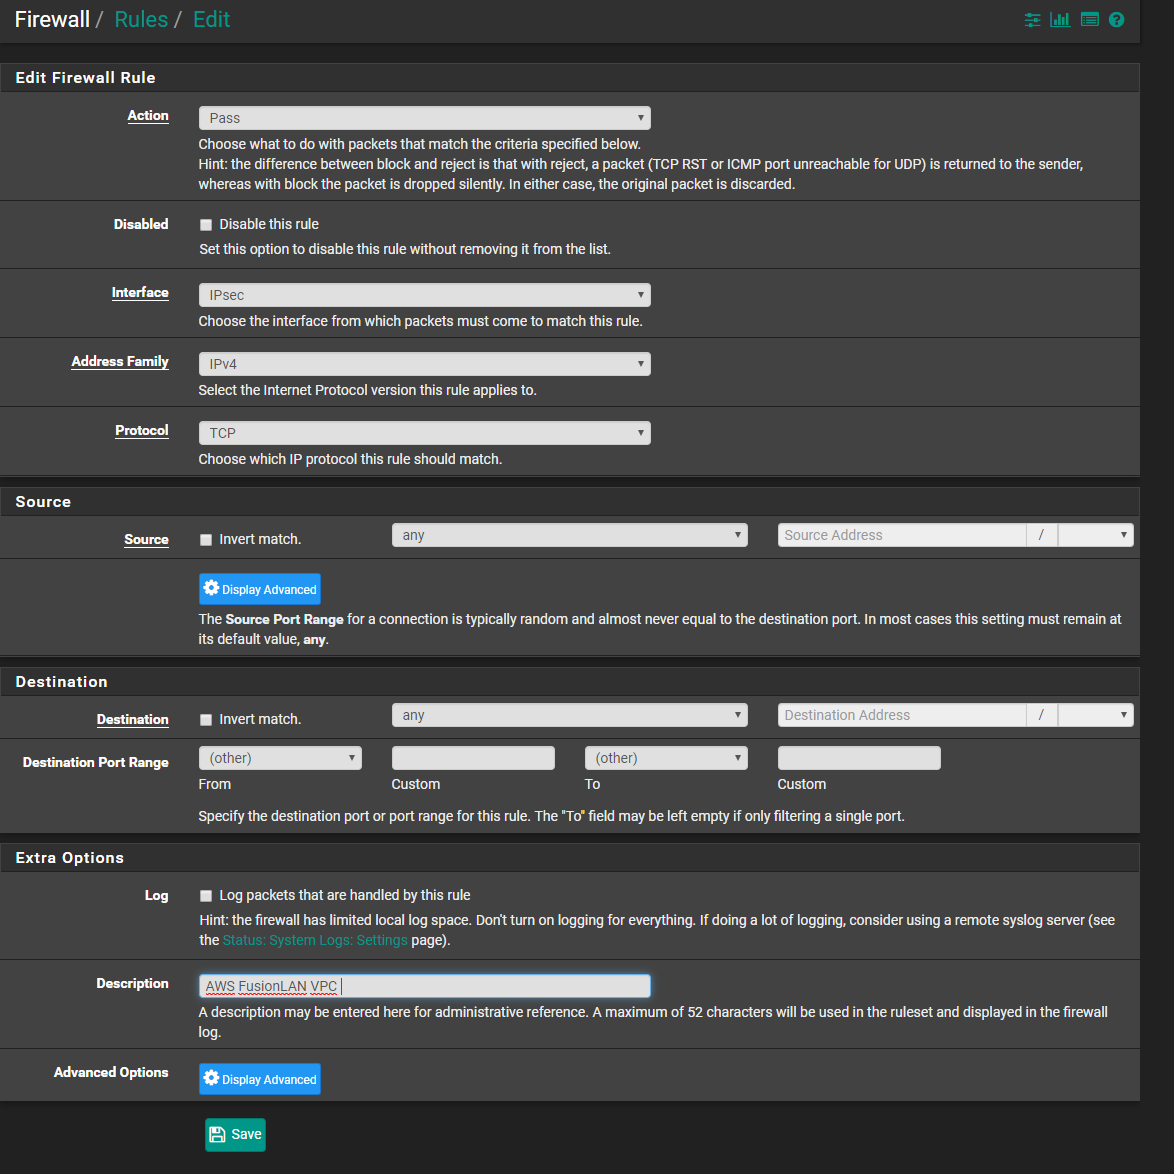
To allow the traffic from your VPC to go to your local network, we need to create a firewall rule.
From the pfSense dashboard, click on Firewall and go to Rules
Click on IPsec
Click on Add

Since this is a homelab, I am going to choose to allow all traffic from my VPC. In a business setup, you will want to isolate as much as possible. You can choose which subnets you want to allow if you have multiple subnets. Click on Save when finished.
Click on Apply Changes

Now, we need to configure your VPC to allow and route traffic from your pfSense appliance.
AWS Configuration
Go back to your AWS Console and go the security group that you want to allow traffic to pass from your pfSense appliance to your VPC.
From the EC2 dashboard, click on Security Groups under Network & Security
Select the security group you want to allow traffic from,

Under the security groups, you will see the configuration for that security group. Click on Inbound and click Edit

To allow all traffic to this security group, choose All Traffic. Choose custom for source and enter your subnet. Click on Save. It is best practice to only allow what you need to access from your tunnel, however, this is a homelab and a PoC.

Configuring Routes
We need to set a route to your local subnet. We need to configure your VPC to route your pfSense appliance over the gateway and not the internet.
Go back to your VPC Dashboard via the AWS Console. Under Virtual Private Cloud, click on Route Tables
Choose the route table you would like to edit. This will be the same route table that is connected to the VPC and the same route table that your instances are using.

Under that, you will see the configuration for that route table. Click on Route Propagation. After that, click on Edit route propagation.

Check the box for Propagate and click on Save

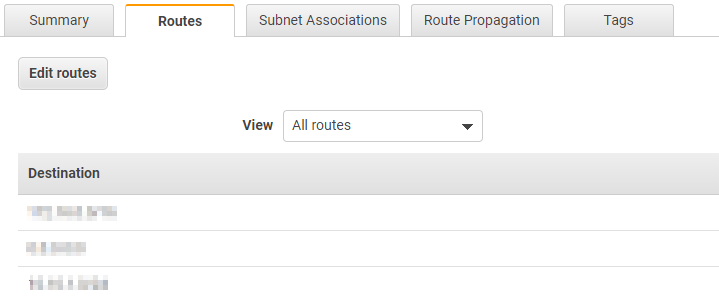
Now, click on Routes and you should see a route to your local network,
You are finished. Remember, this guide was to set up a PoC and is best to only limit the traffic that is needed.
For a test, I will SSH into one of my instances using the local IP.

And now I will try to reach a server in my homelab
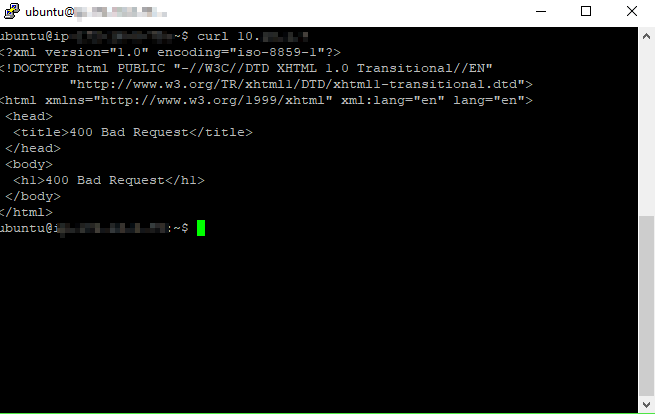
It successfully was able to reach an internal server.
That wraps up this guide and I hope it helps you achieve a solid PoC to see how this can work for you. Please remember, to limit the access to and from the networks. If you have any questions or issues, please feel free to reach out!
